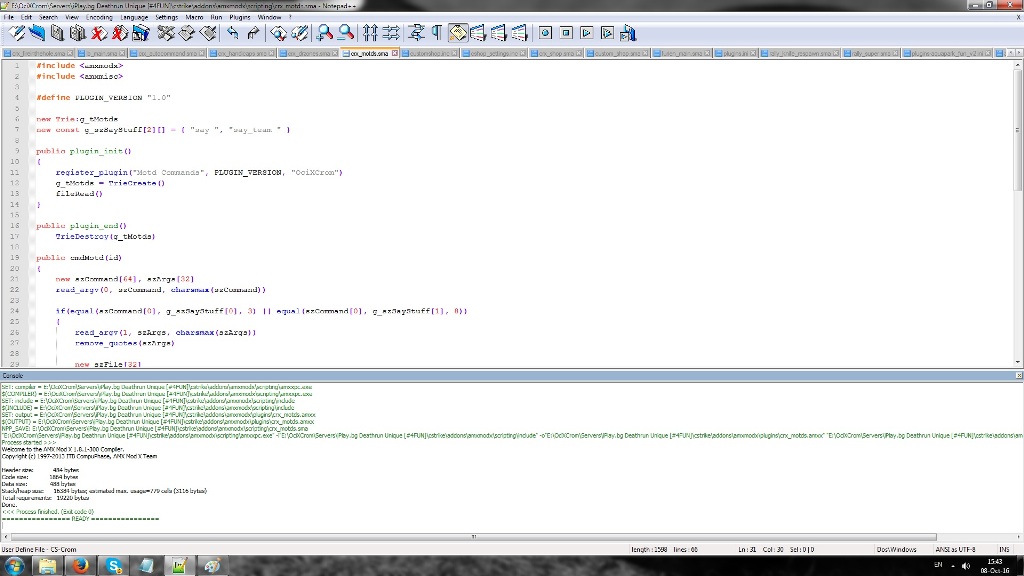
For this you will need Notepad++ and of course a server platform with a working amxxpc.exe file. Follow these steps in order to configure Notepad++ to work with the compiler:
____________________________________________
Step #1: Open Notepad++ and click on Plugins => Plugin Manager => Show Plugin Manager.
Step #2: In the window that just popped up, click on the Available tab. Find the plugin NppExec and install it. If you can't find it in the list, it's probably already installed and you should continue to Step #3.
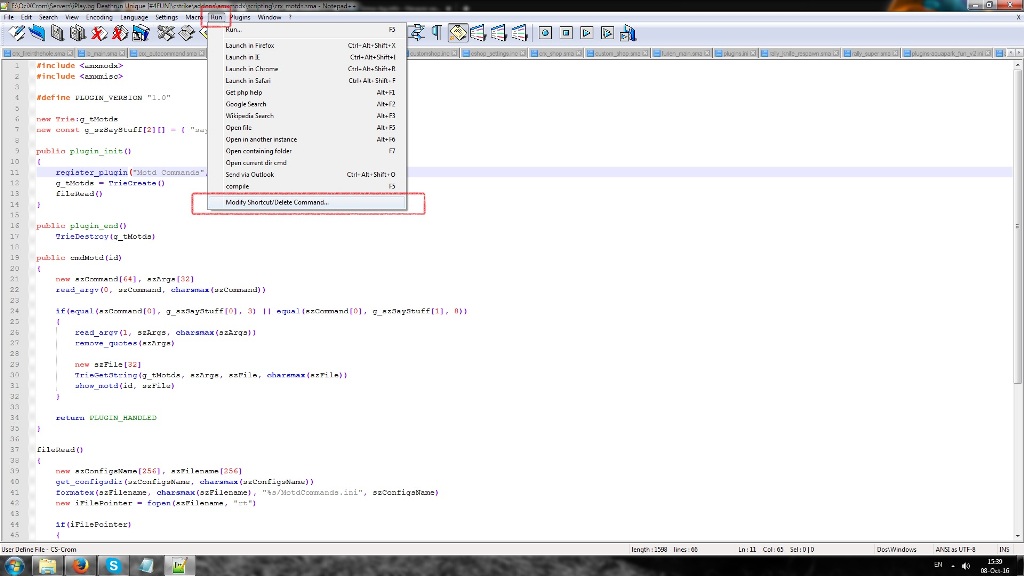
Step #3: Open Notepad++ and click on Run => Modify Shortcut/Delete Command.
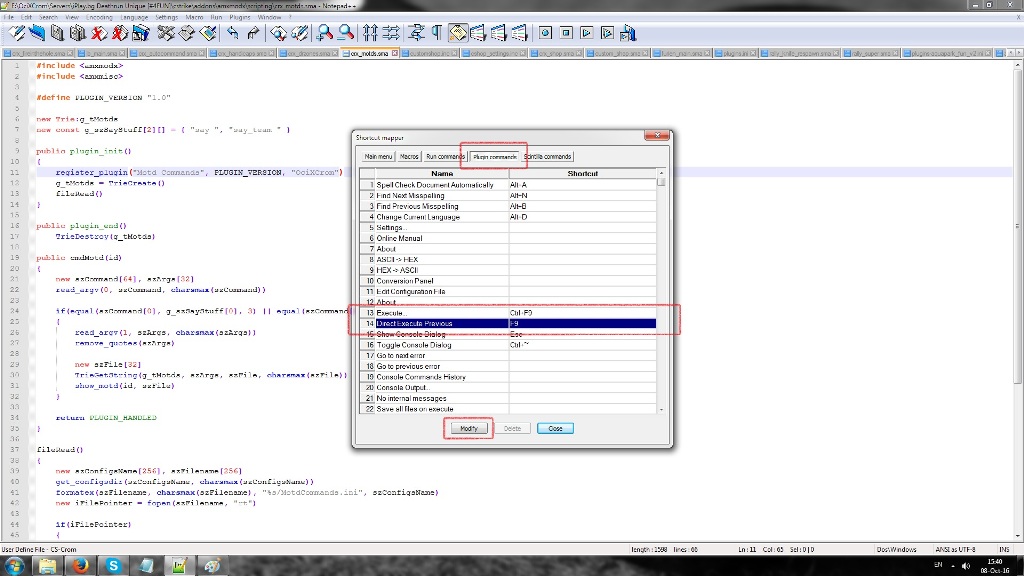
Step #4: Go to Plugin Commands and find the Execute and Direct Execute Previous fields. The first field sets the button that will open the compile menu and the second one is the button for direct compile. I suggest you set F9 for the direct compile and Ctrl+F9 for the menu. You will find Show Console Dialog under these two fields, which is used for toggling the console and hiding it after the compilation is complete. My suggestion for this shortcut is the Escape button.
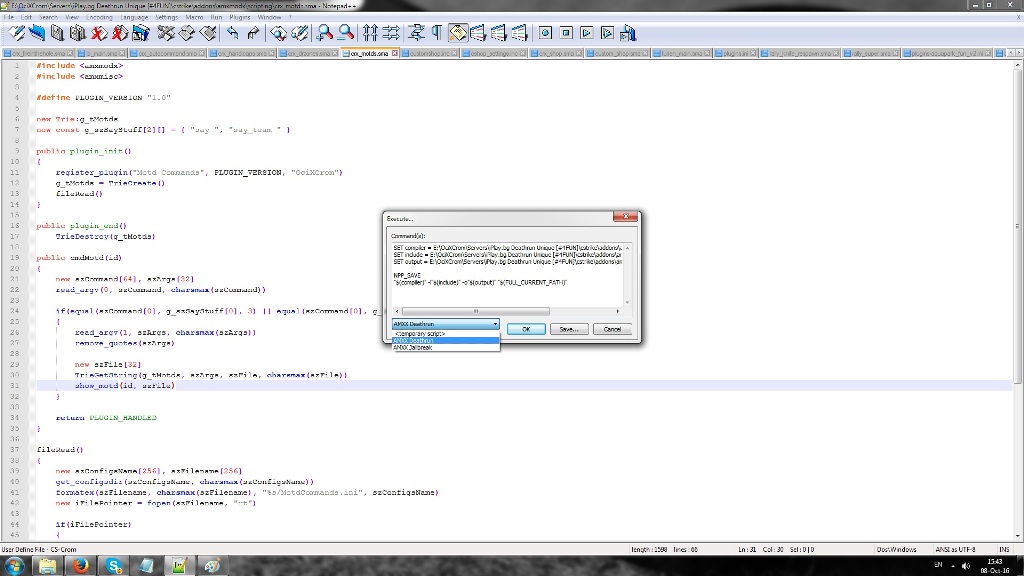
Step #5: Hit the menu button (previously suggested as Ctrl+F9). A window will pop up where you need to insert the following code:
Code: Select all
SET compiler = E:\OciXCrom\Servers\My Cool Server\cstrike\addons\amxmodx\scripting\amxxpc.exe
SET include = E:\OciXCrom\Servers\My Cool Server\cstrike\addons\amxmodx\scripting\include
SET output = E:\OciXCrom\Servers\My Cool Server\cstrike\addons\amxmodx\plugins\$(NAME_PART).amxx

NPP_SAVE
"$(compiler)" -i"$(include)" -o"$(output)" "$(FULL_CURRENT_PATH)" After you added the code, hit Save.
Step #6: Now the configuration is complete and you can compile your plugins when you hit the compile button (I have it on F9). The compile information will be shown in the console down below.